Product docs and API reference are now on Akamai TechDocs.
Search product docs.
Search for “” in product docs.
Search API reference.
Search for “” in API reference.
Search Results
results matching
results
No Results
Filters
Deploying Kubeflow on Linode Kubernetes Engine
Traducciones al EspañolEstamos traduciendo nuestros guías y tutoriales al Español. Es posible que usted esté viendo una traducción generada automáticamente. Estamos trabajando con traductores profesionales para verificar las traducciones de nuestro sitio web. Este proyecto es un trabajo en curso.
What is Kubeflow?
Kubeflow is an excellent alternative for training and evaluating machine learning models in public and private clouds. Kubeflow is designed to make your machine learning experiments portable and scalable.
Start by creating Jupyter notebooks in the cloud. Once you’re confident in your model, you can scale your model to run on thousands of machines.
Kubeflow optimises your model and breaks it down into smaller tasks that can be processed in parallel. Then, it distributes the tasks to several computers and waits until the results are ready.
Are you ready to train your model at scale?
Before You Begin
You can run this tutorial locally using minikf . However, you should have at least 12GB of RAM, 2CPUs and 50GB of disk space available.
The
kfctlcommand line interface (CLI) used to deploy Kubeflow currently only works on Linux and Mac. If you’re on Windows, you can use WSL2 or a Docker container to work around this limitation.Most Kubeflow pipelines require Kubernetes Volumes that can be attached to several nodes at once (ReadWriteMany). Currently, the only mode supported by the Linode Block Storage CSI driver is ReadWriteOnce, meaning that it can only be connected to one Kubernetes node at a time.
Create an LKE Cluster
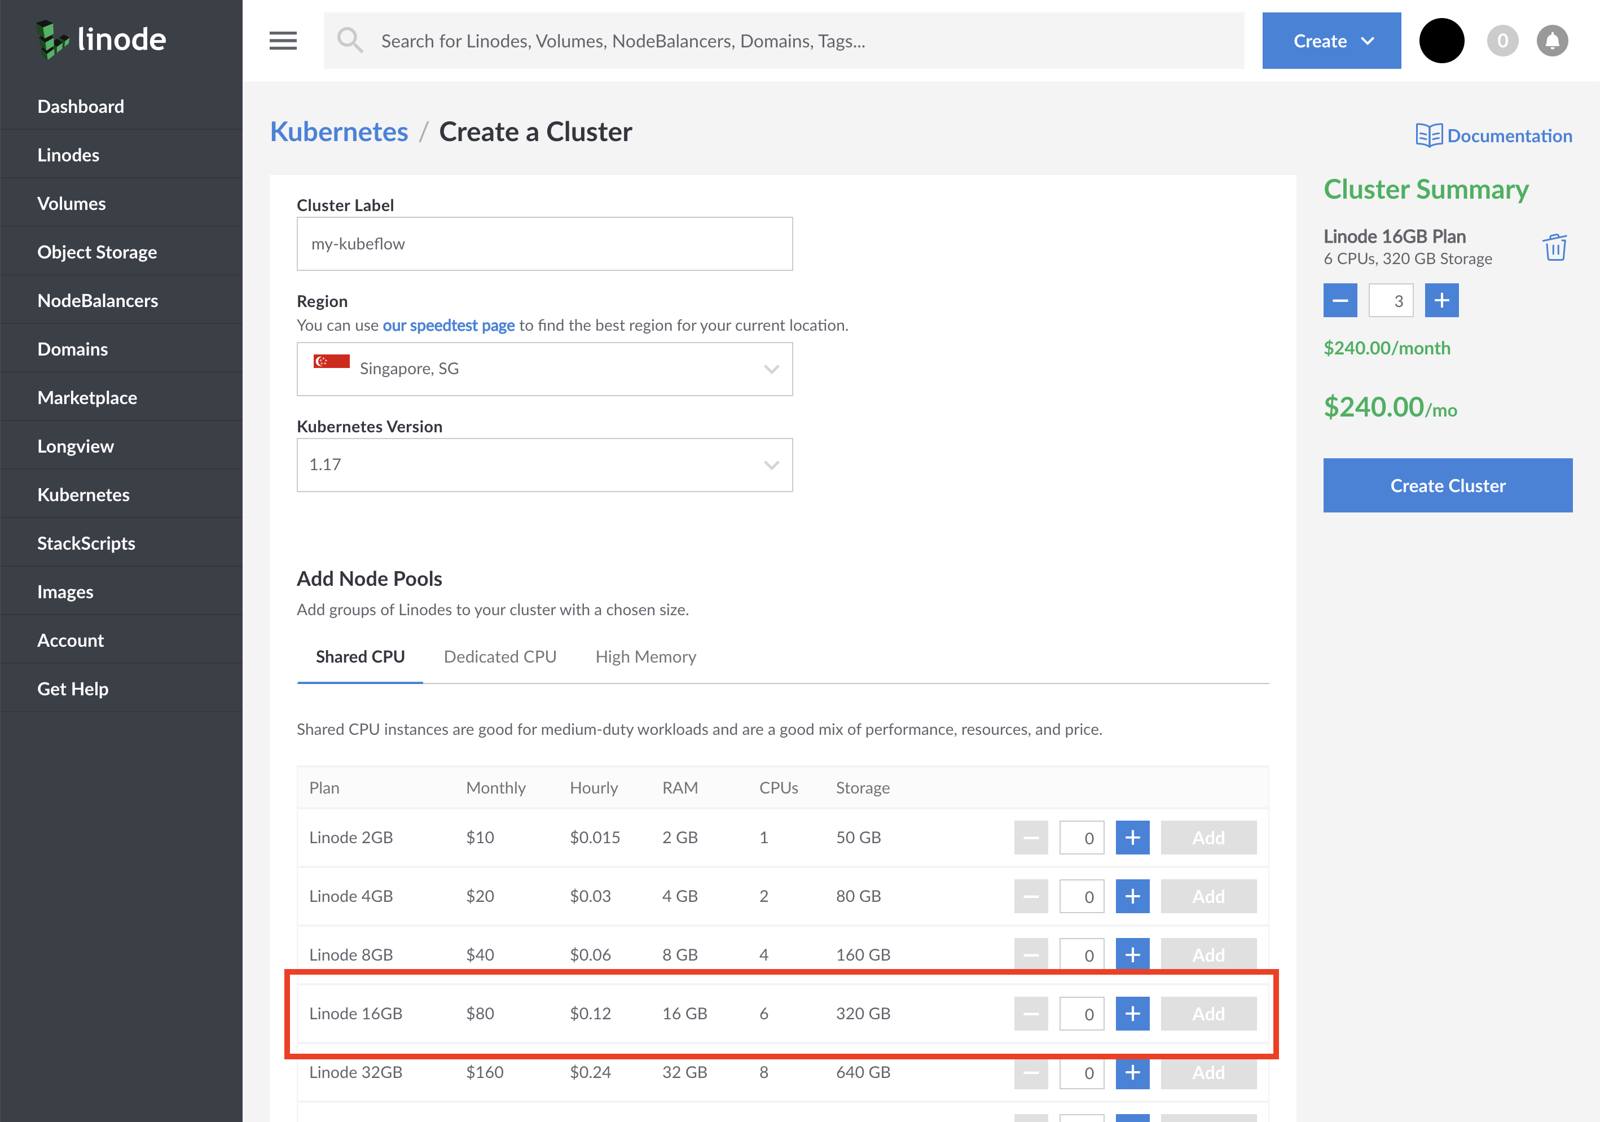
Follow the instructions in Deploying and Managing a Cluster with Linode Kubernetes Engine Tutorial to create and connect to an LKE cluster.
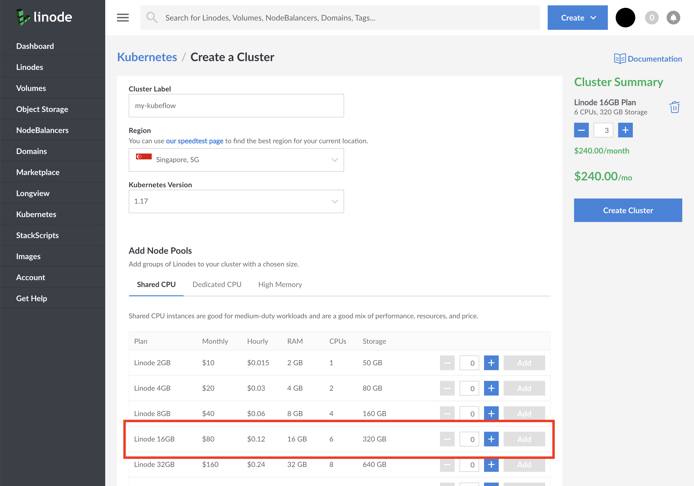
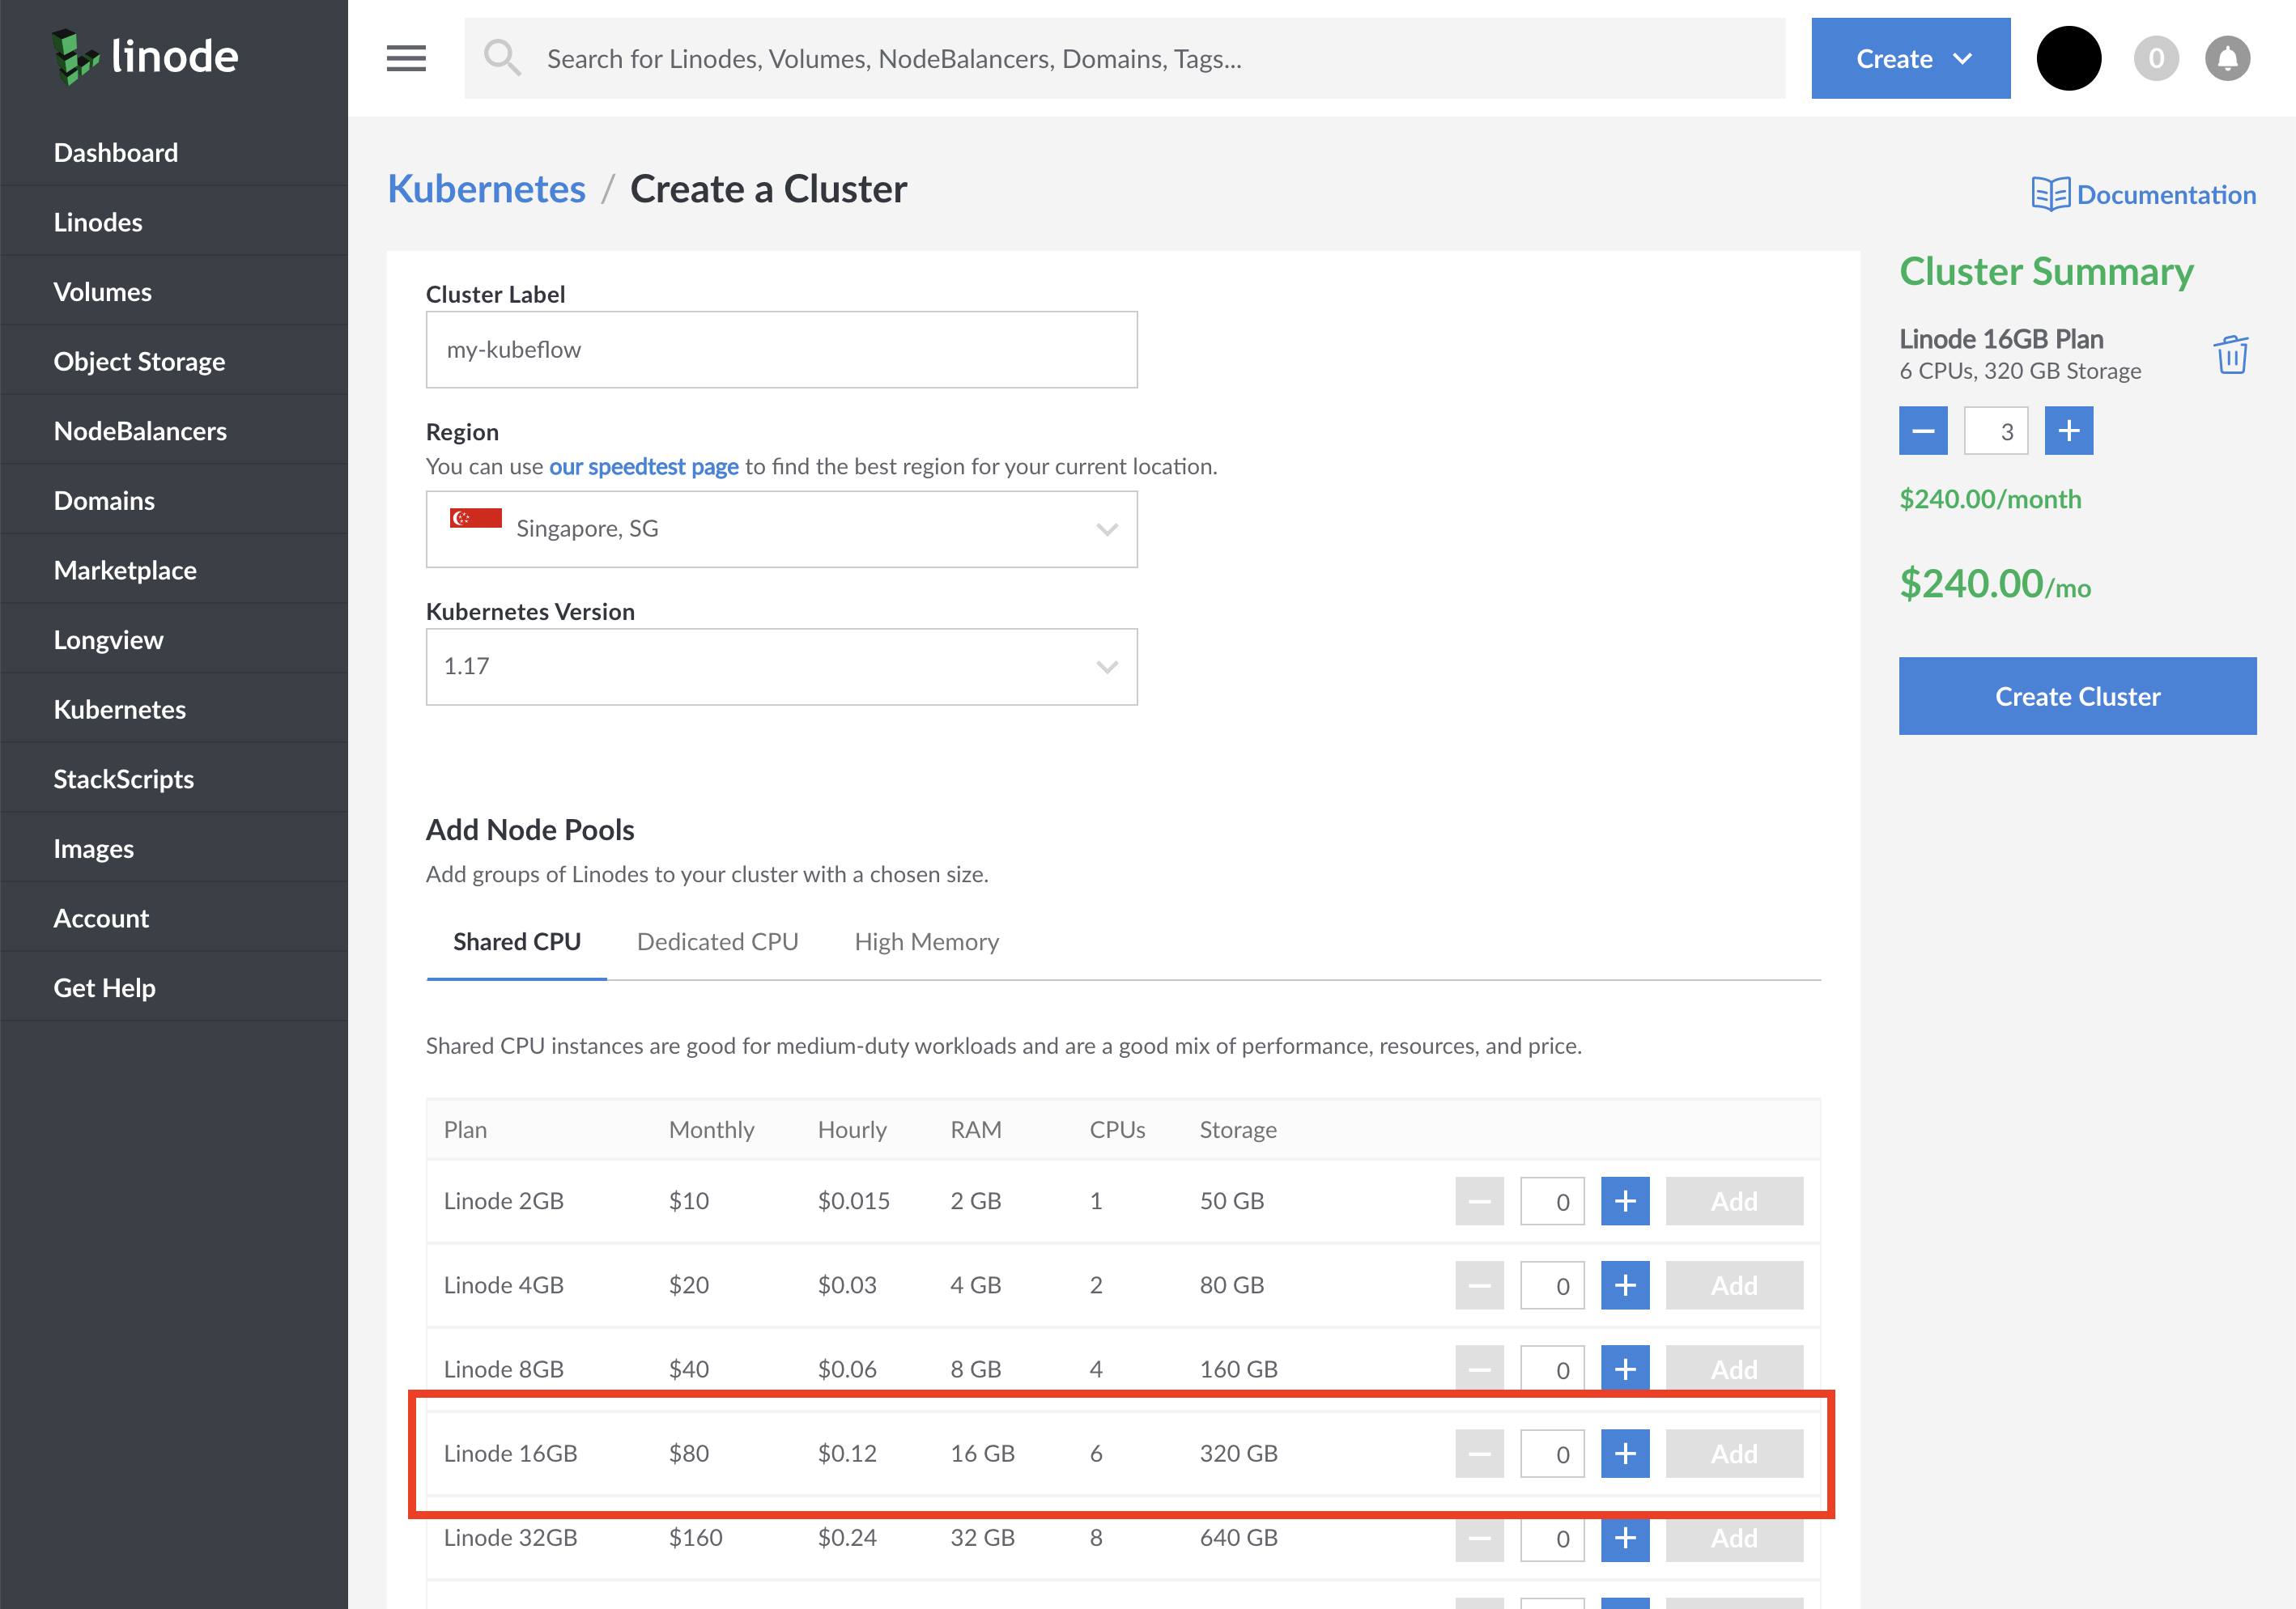
The official Kubeflow documentation recommends provisioning a cluster with at least 4 CPU cores, 12GB of memory and 50GB of space available. We recommend running three 16GB Linodes — that should give you enough resources to scale your models.

You can verify that the installation is successful with:
kubectl get nodesThe output should be similar to:
NAME                        STATUS   ROLES    AGE   VERSION
lke7189-9006-5f05145fc9a3   Ready    <none>   8h    v1.17.3
lke7189-9006-5f051460a1e2   Ready    <none>   8h    v1.17.3
lke7189-9006-5f0514617a87   Ready    <none>   8h    v1.17.3
Install Kubeflow
To install Kubeflow, you need three parts:
- A Kubernetes cluster, which you already provisioned in the previous step.
kfctl— a command-line tool that configures and deploys Kubeflow.- A
KfDeffile — a recipe of components that should be included in your Kubeflow installation.
Download and Install kfctl
You can download and install kfctl from the official repository
:
Download the latest release of
kfctlv1.0.2 from the Kubeflow releases page .Unpack the tar ball with:
tar -xvf kfctl_v1.0.2_.tar.gzAdd the location of
kfctlbinary to the path environment variable. If you don’t add the location of the binary to the path variable, you must use the full path to the kfctl binary each time you run it.export PATH=$PATH:<path to where kfctl was unpacked>
Note, at the time of writing this guide, there is no Windows release available. However, you can use WSL2 or a Docker container to work around this limitation.
Verify that the binary is installed correctly with:
kfctl versionThe KfDef file
The last piece of the puzzle is the KfDef file. Think of the KfDef file as a list of components that should be installed with Kubeflow. As an example, Kubeflow can be configured to use the Spark operator
, Katib (Hyperparameter Tuning)
, Seldon serving
, etc.
You can download the following
KfDefthat includes a lighter version of Kubeflow as well as Dex — an identity provider useful for managing user access.wget https://raw.githubusercontent.com/learnk8s/kubeflow-pipelines-demo/master/kfctl_istio_dex.v1.0.2-pipelines.yamlIf you open the file, you can see the various components that are about to be installed.
Pay attention to line 116 and 118. Those lines contain the default username and password that you will use to log in into Kubeflow,
admin@kubeflow.organd12341234. It’s a good idea to change these to non-default values.Next, generate the configuration with:
kfctl build -f kfctl_istio_dex.v1.0.2-pipelines.yamlYou should notice that a new folder named
kustomizewas created. If you inspect the folder, you should find a collection of components and configurations.Apply the configuration with:
kfctl apply -f kfctl_istio_dex.v1.0.2-pipelines.yamlThe command reads the
KfDefdefinition and the kustomize folder, and submits all resources to the cluster.The process could easily take 15 to 20 minutes, depending on your cluster specs. You can monitor the progress of the installation from another terminal with:
kubectl get pods --all-namespacesAs soon as
kfctlcompletes the installation, it might take a little longer for all Pods to be in a Running state.
Accessing Kubeflow
Once the installation is completed, you can decide how you will use Kubeflow. You have two options:
You can temporarily create a tunnel to your Kubeflow cluster. The cluster is private, and only you can access it.
You can expose the cluster to the internet with a NodeBalancer.
Option 1: Creating a Tunnel to Kubeflow
If you prefer creating a tunnel, execute the following command:
kubectl port-forward --namespace istio-system service/istio-ingressgateway 8080:80Visit http://localhost:8080 in your browser. Skip to the Logging In section.
Option 2: Expose Kubeflow with a NodeBalancer
If you prefer a more permanent solution, you can expose the login page with a NodeBalancer. Execute the following command:
kubectl patch service --namespace istio-system istio-ingressgateway -p '{"spec": {"type": "LoadBalancer"}}'The command exposes the Istio Ingress Gateway to external traffic.
You can obtain the IP address for the load balancer with:
kubectl get service --namespace istio-system istio-ingressgatewayThe output should look like:
NAME                   TYPE           CLUSTER-IP     EXTERNAL-IP      PORT(S)                                                                                                                                      AGE
istio-ingressgateway   LoadBalancer   10.128.29.15   139.999.26.160   15020:31944/TCP,80:31380/TCP,443:31390/TCP,31400:31400/TCP,15029:32622/TCP,15030:31175/TCP,15031:31917/TCP,15032:31997/TCP,15443:30575/TCP   8m2s
Note the value of the EXTERNAL-IP IP address, and open that address in your browser.
Logging In

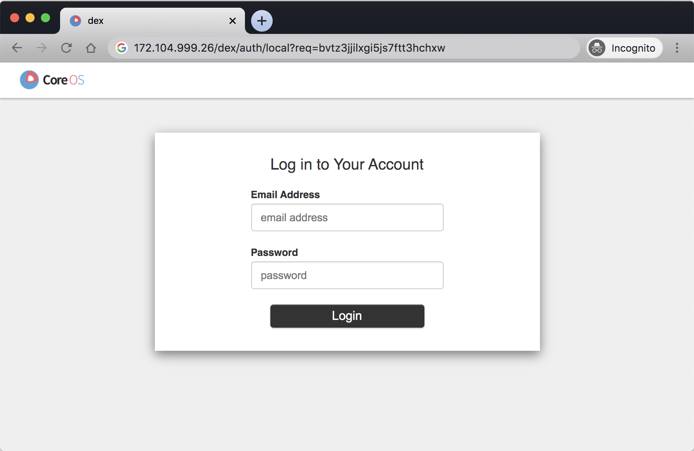
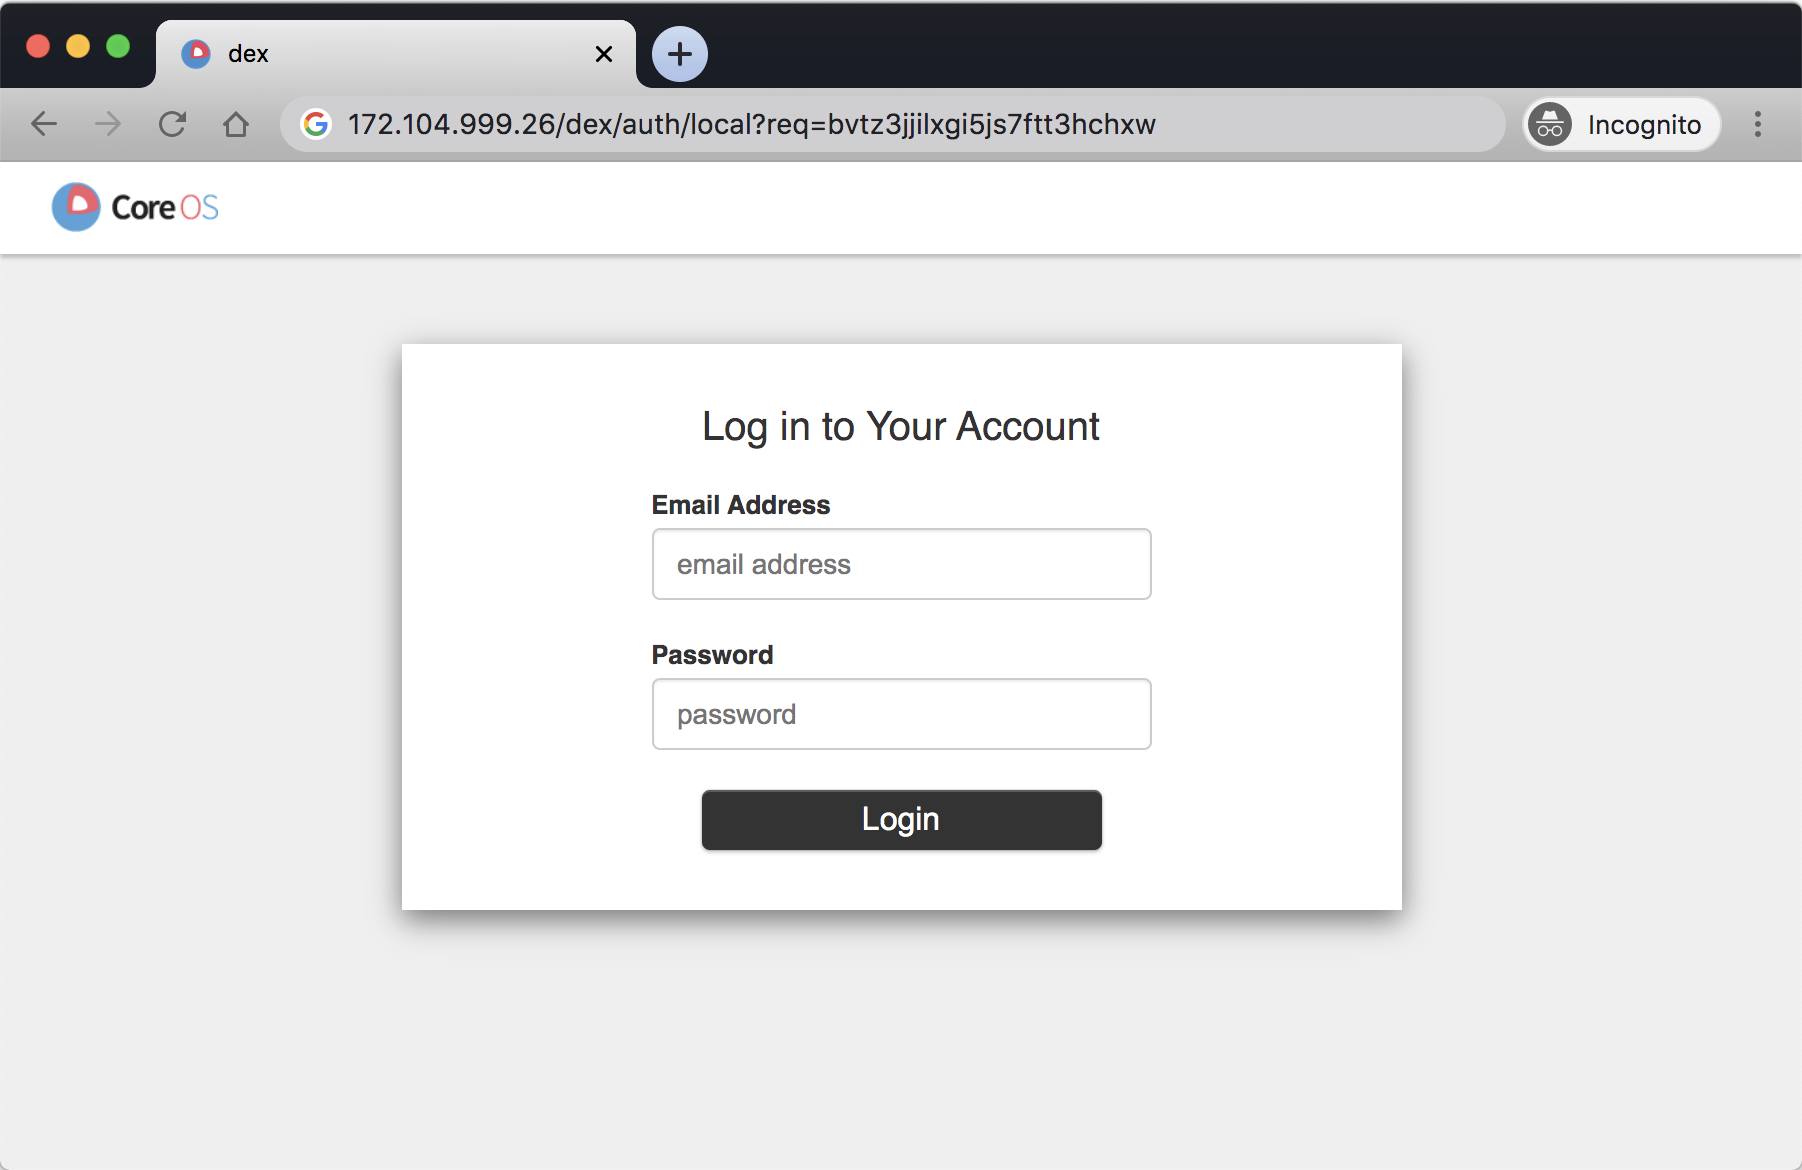
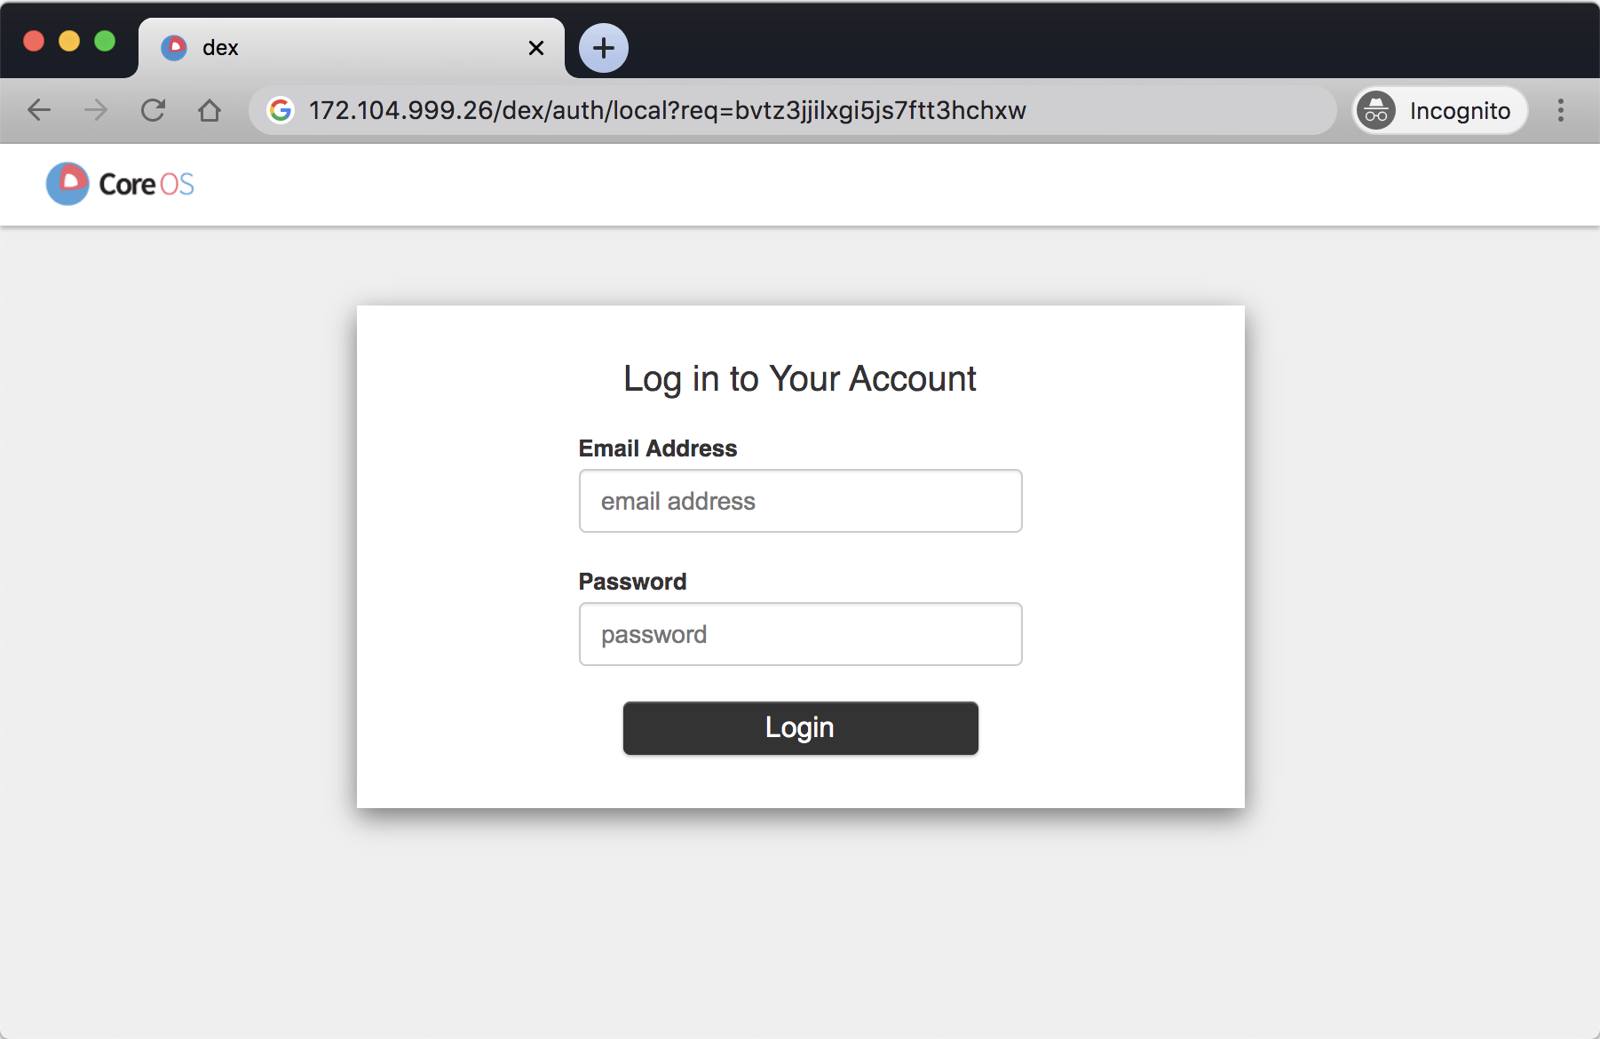
If you haven’t changed the credentials as previously suggested, the default username and password are:
- Username:
admin@kubeflow.org - Password:
12341234
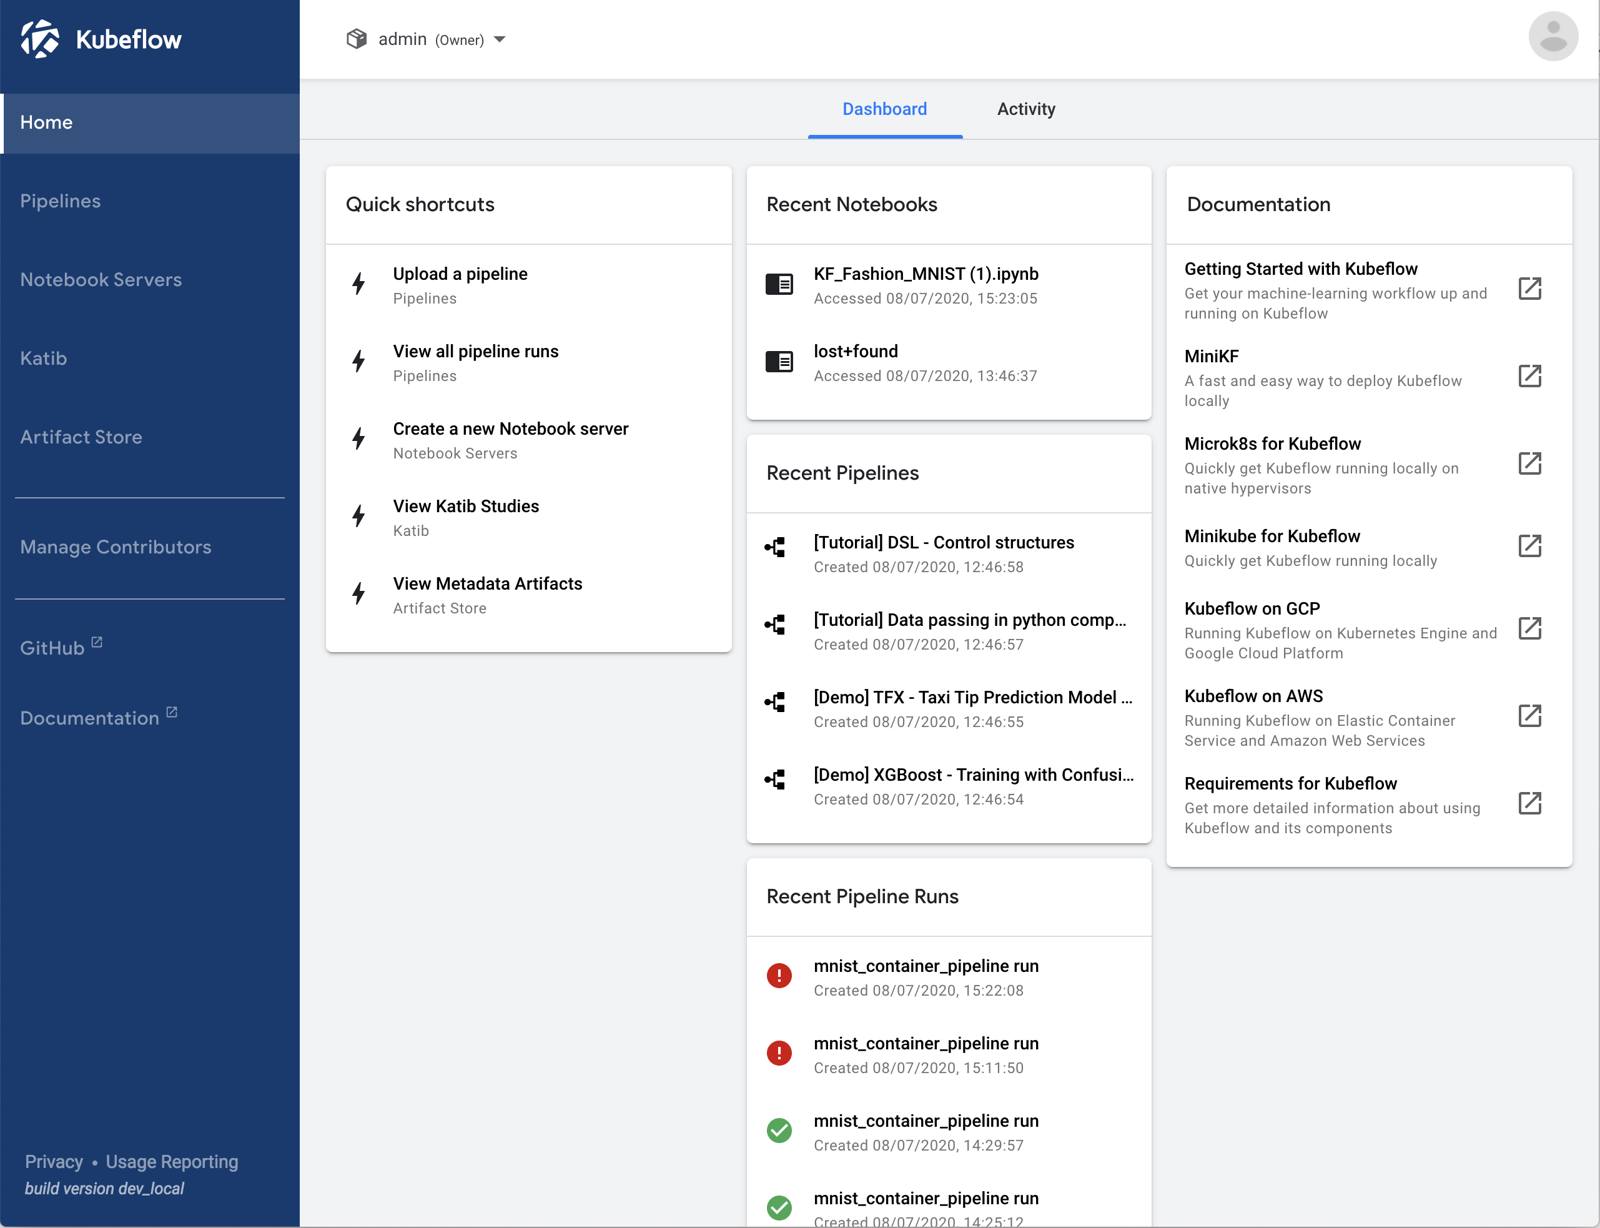
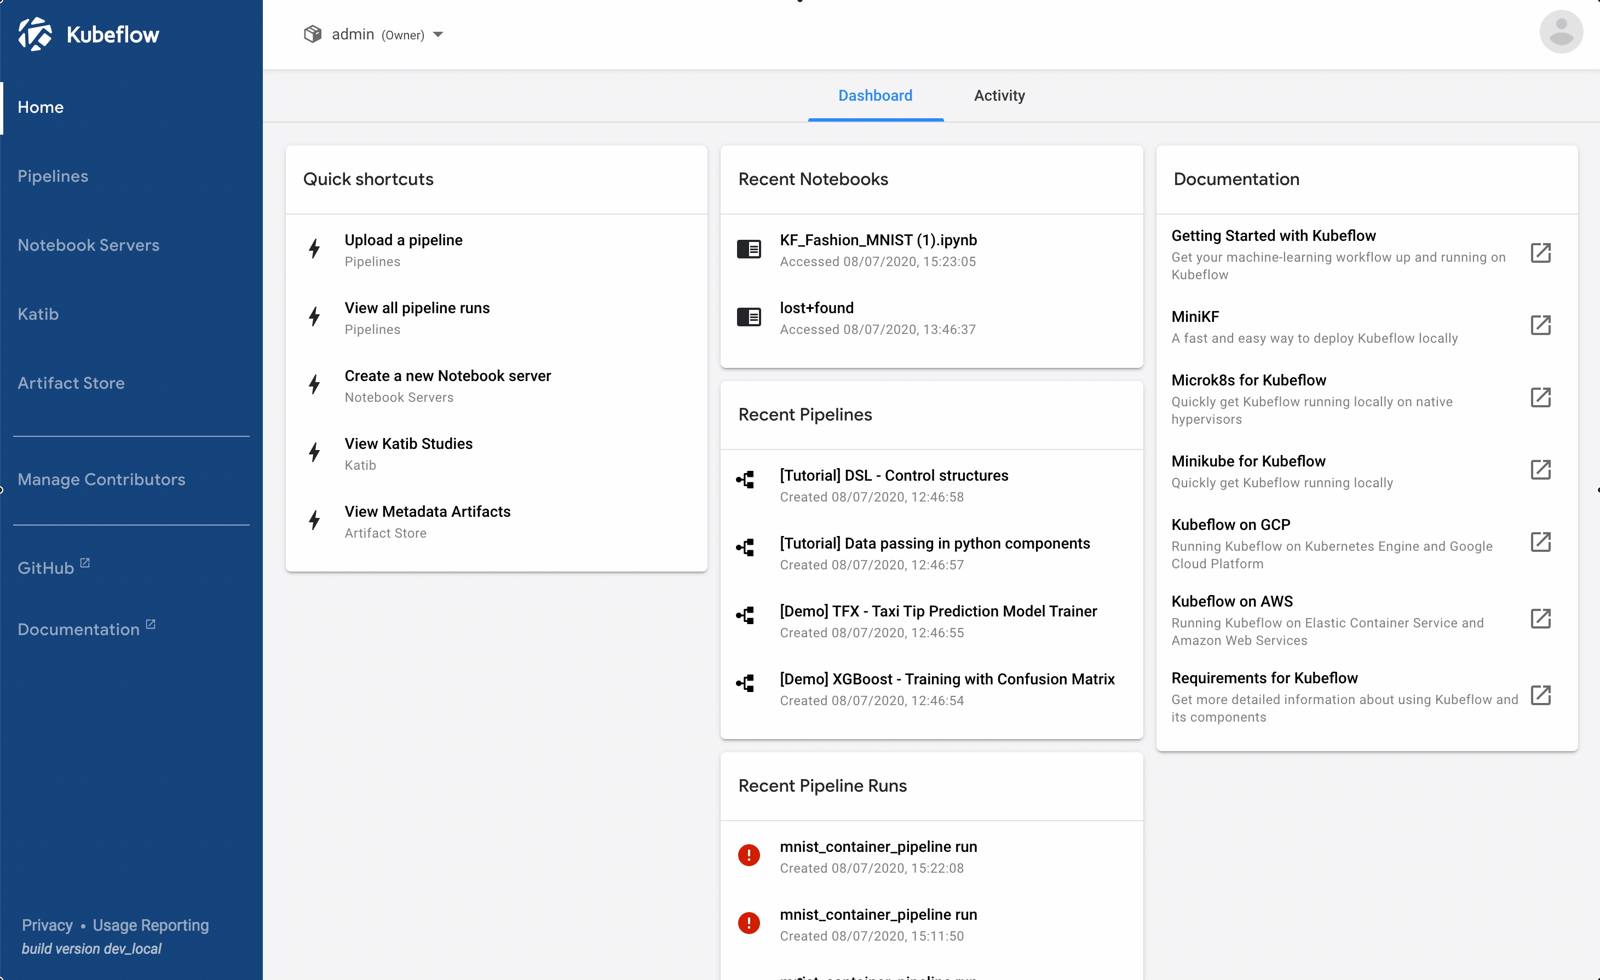
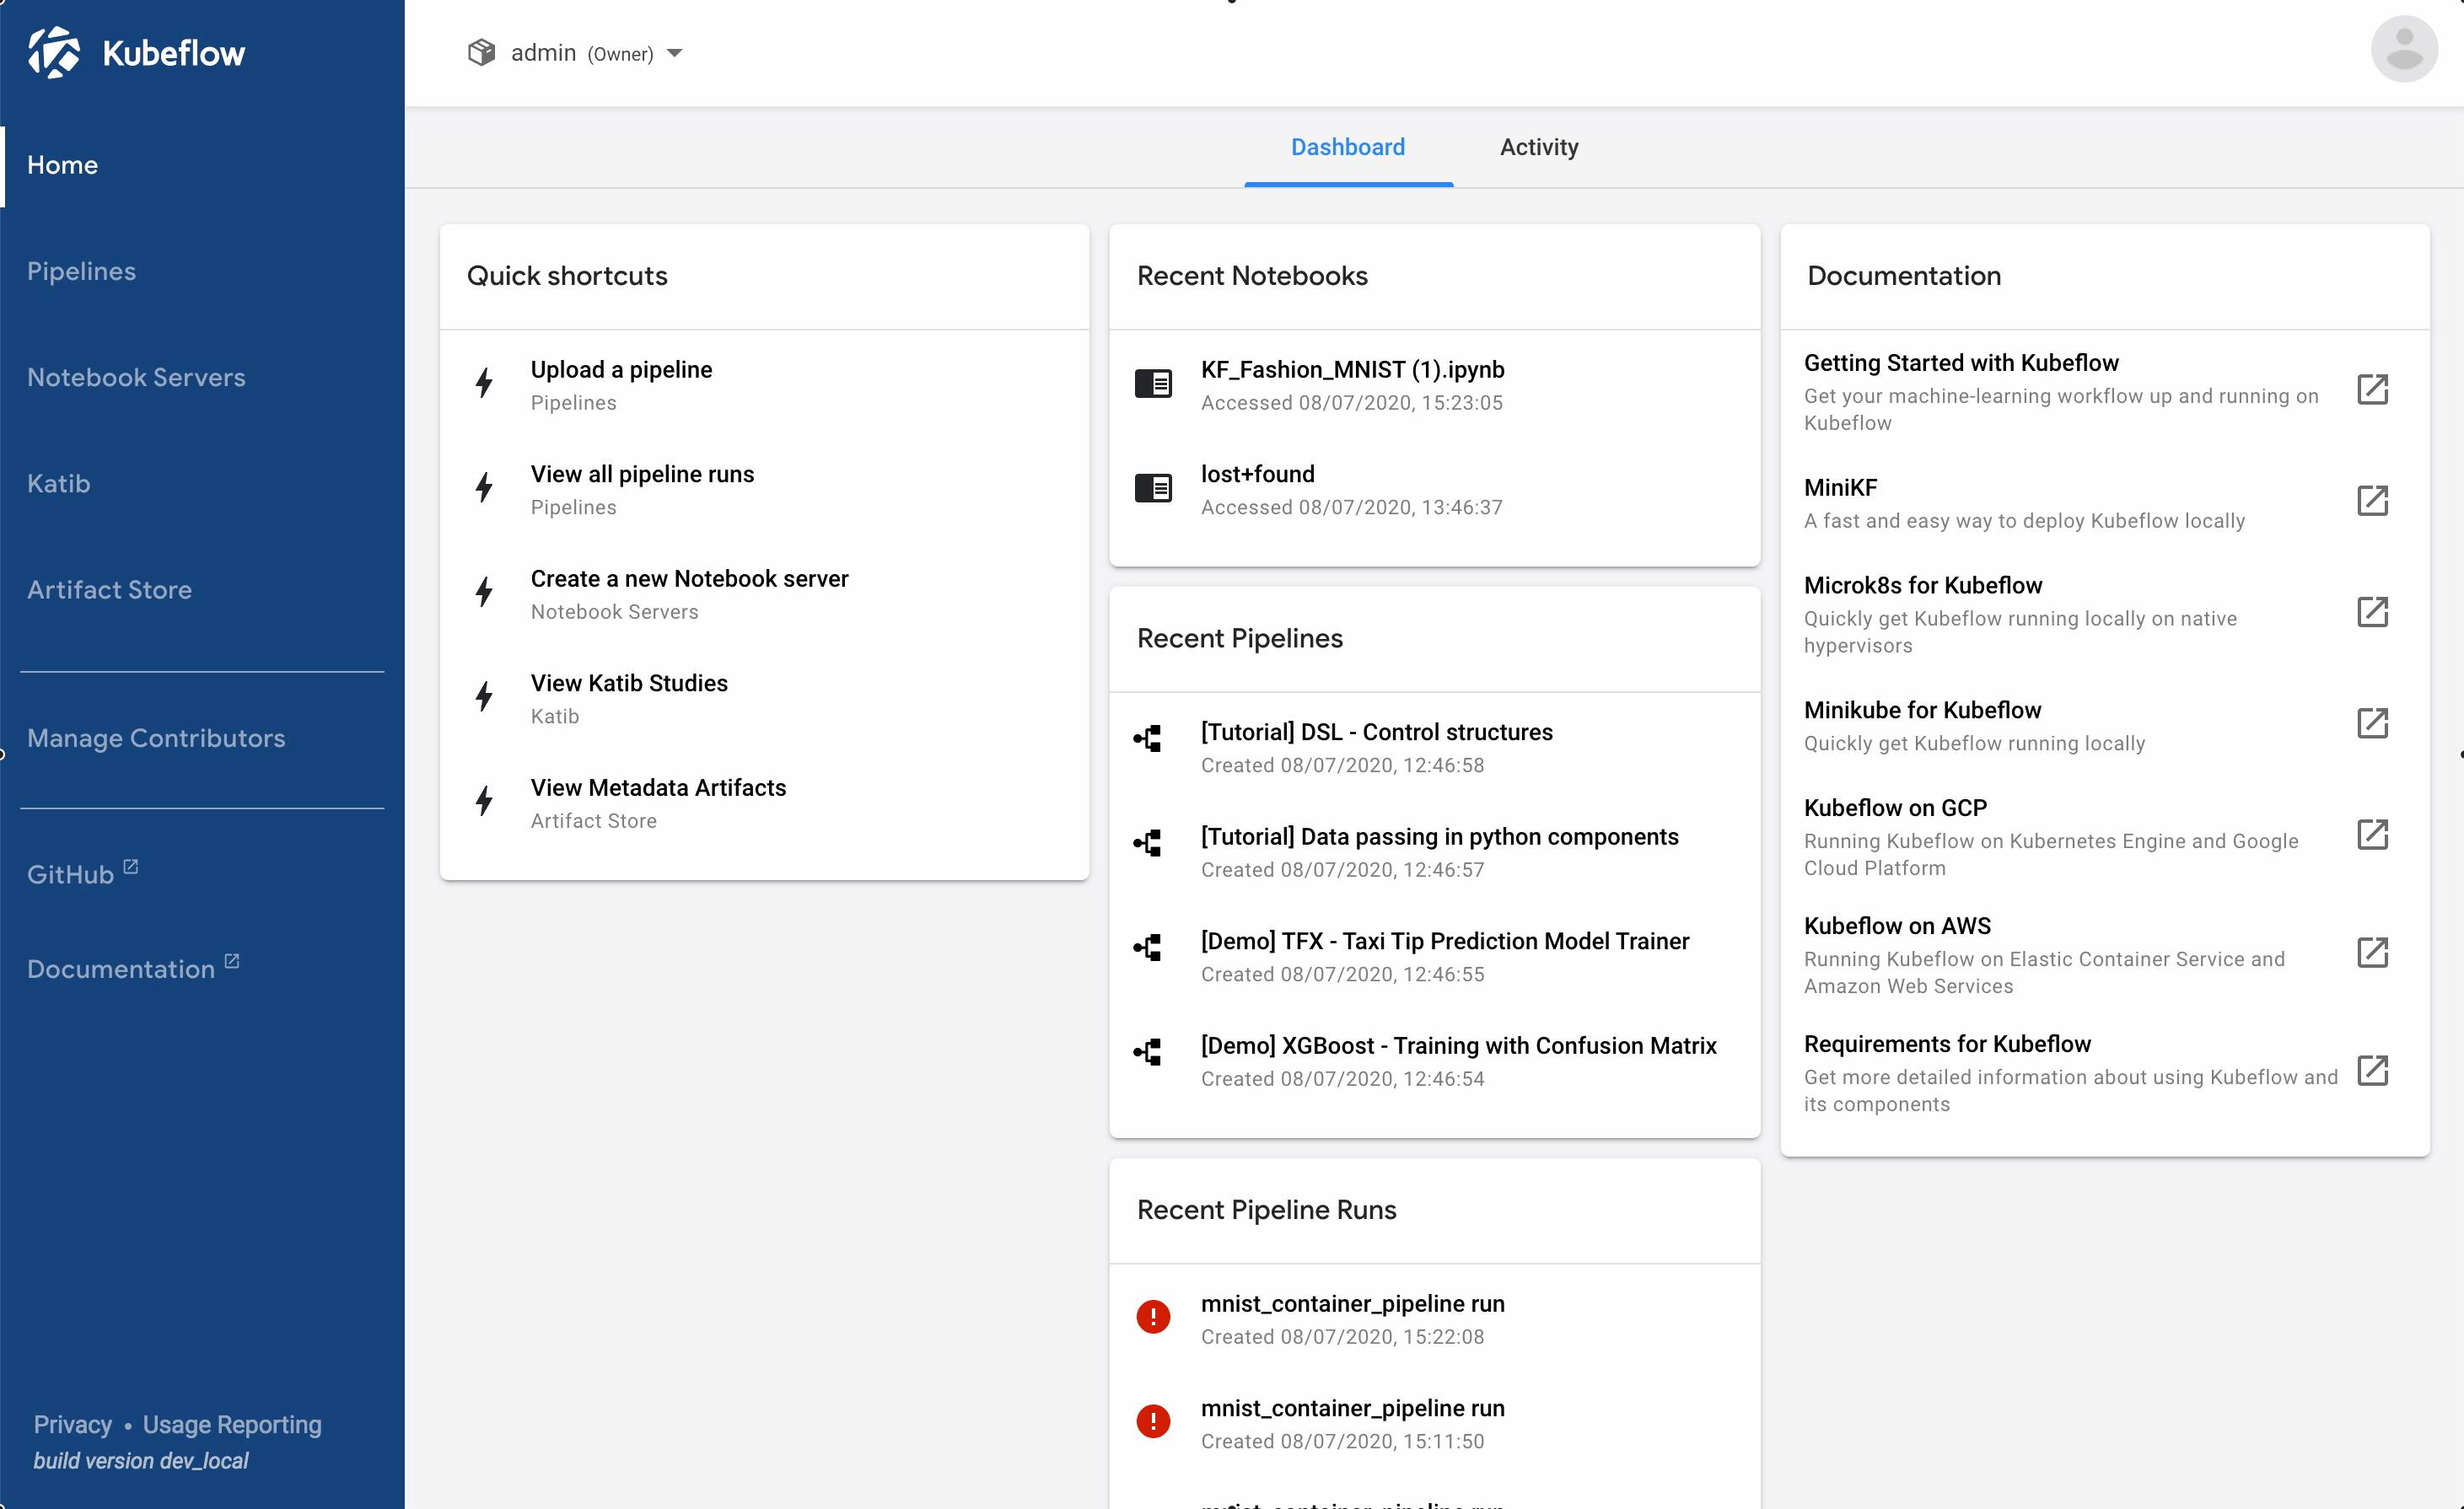
Once logged in, you should see Kubeflow’s dashboard.

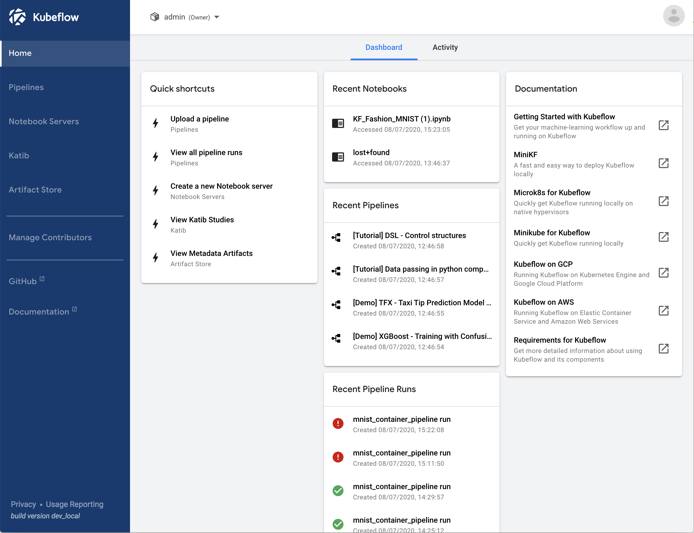
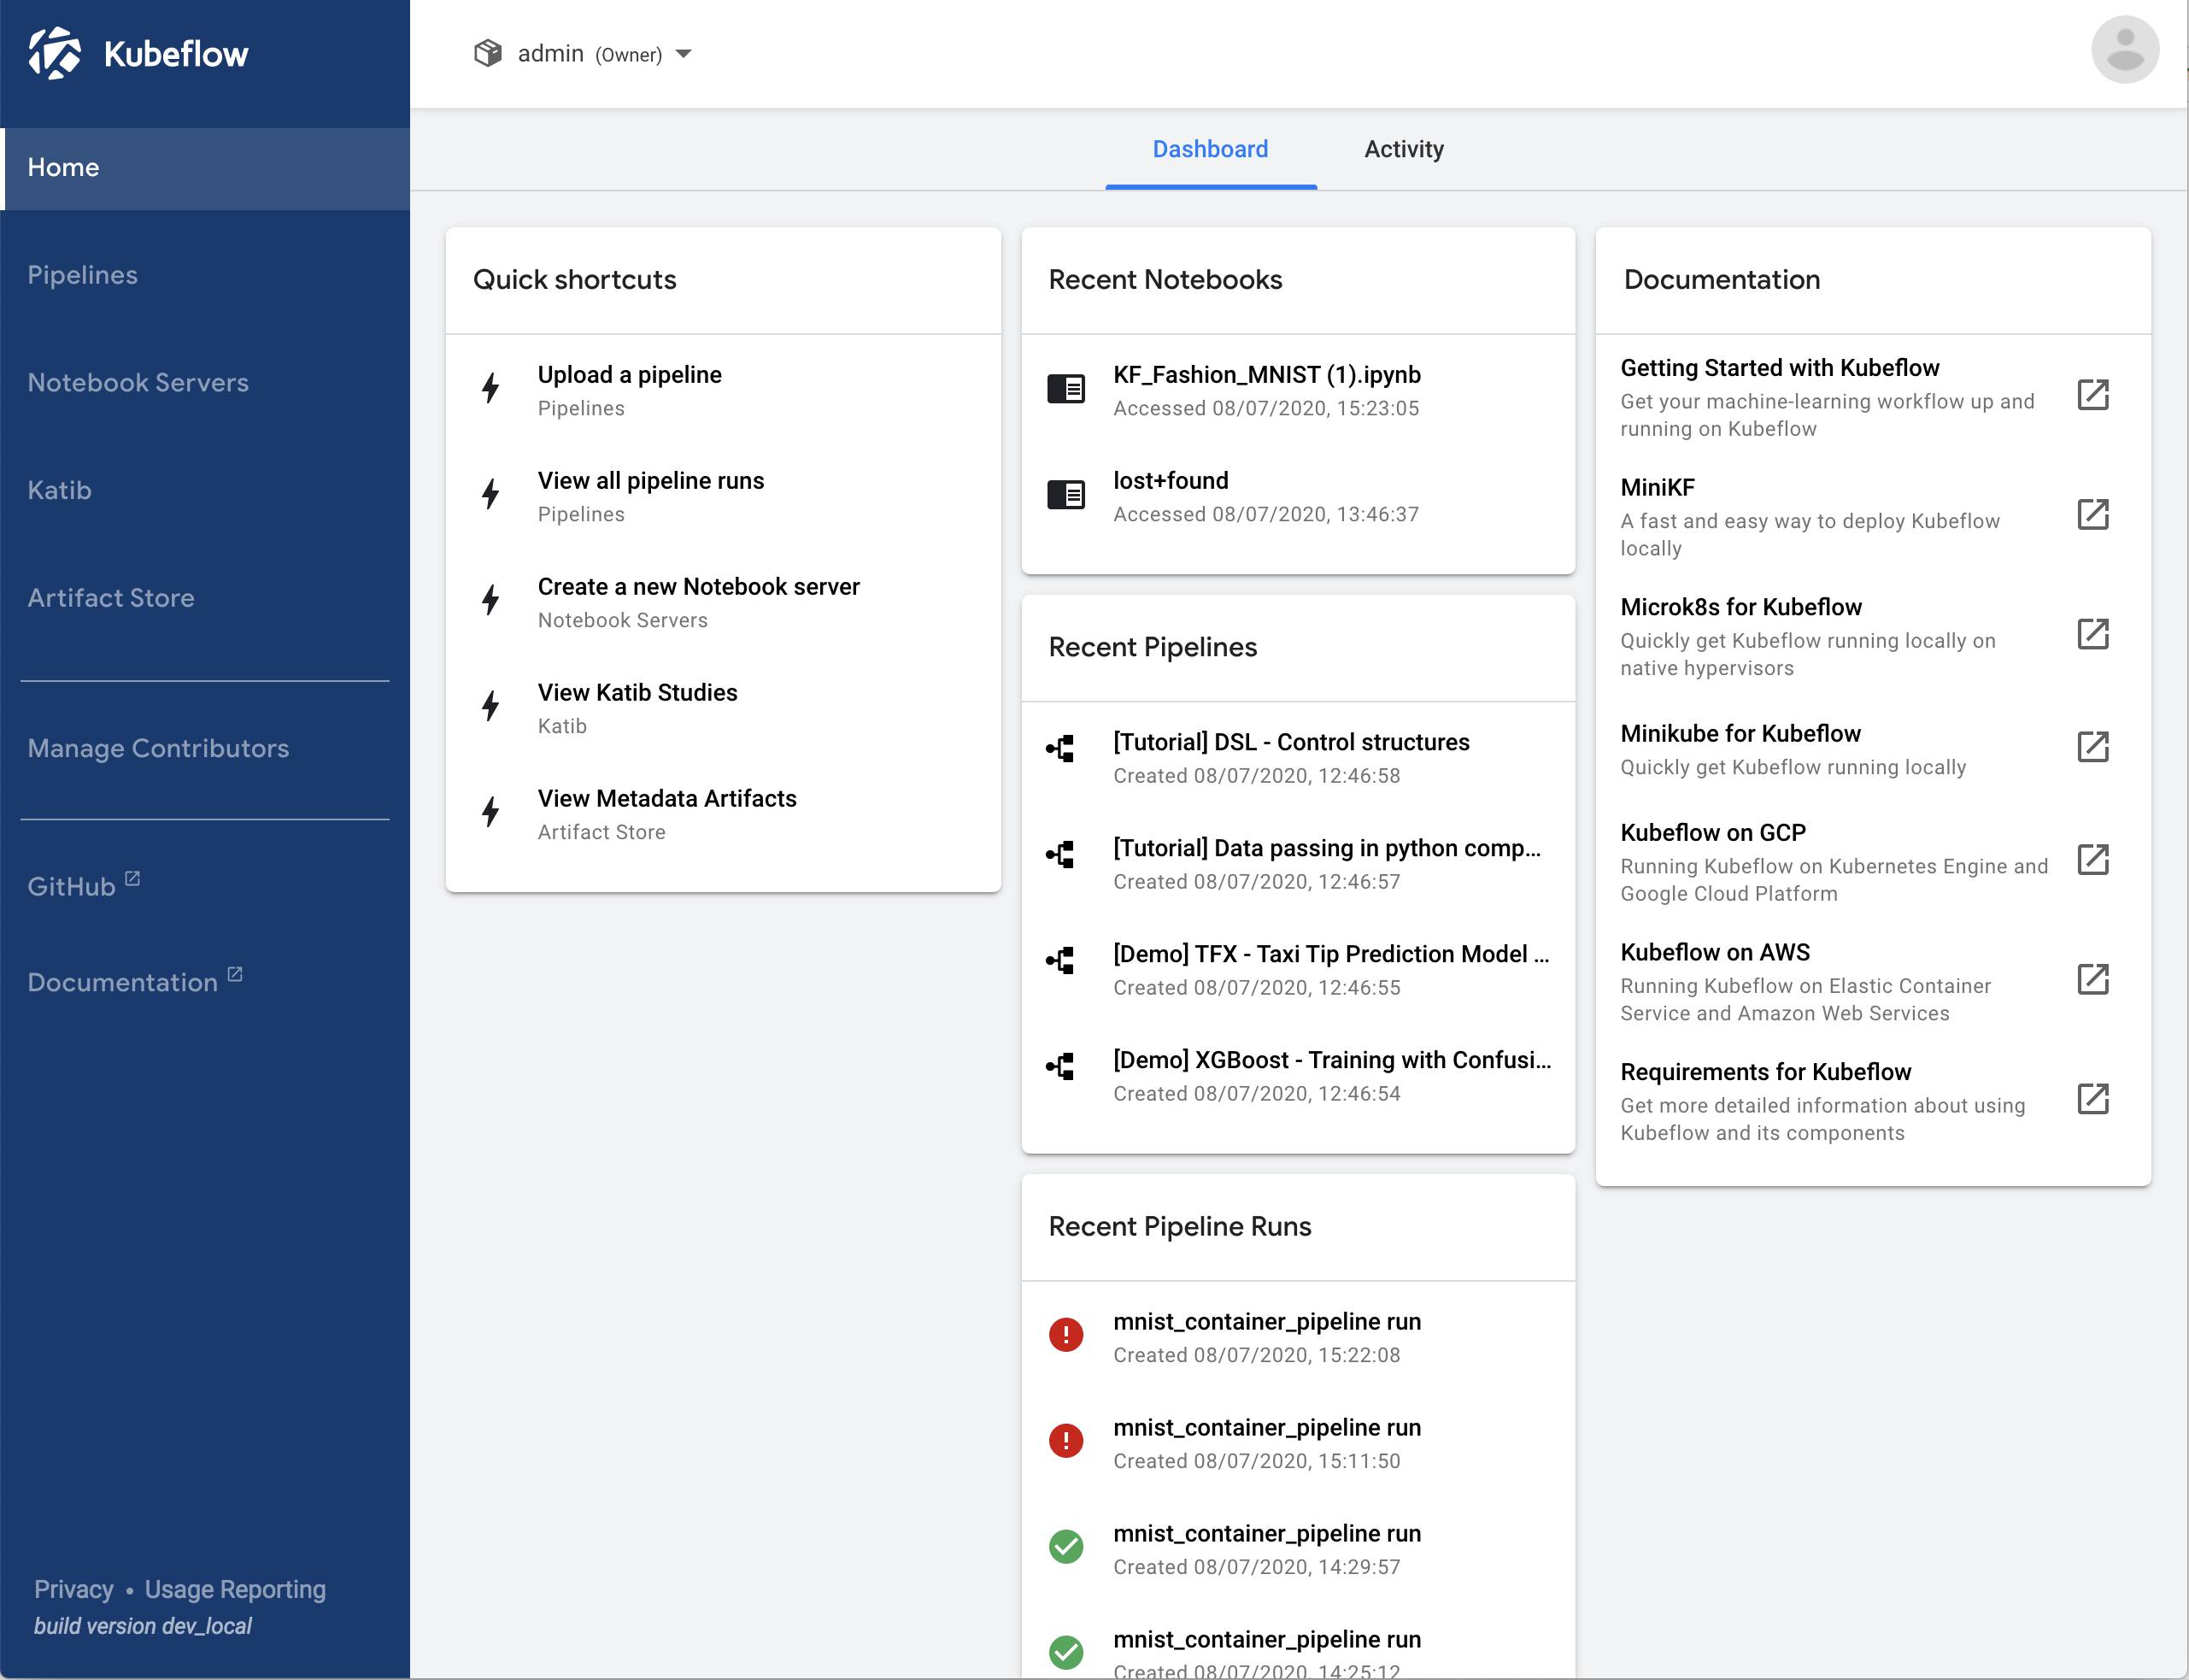
You have no successfully installed Kubeflow.
Kubeflow has two frequently used features: pipelines and Jupyter notebooks. In the next section, you will create a Jupyter notebook.
Jupyter notebooks
A Jupyter notebook is a convenient environment to explore and create machine learning model. The notebook runs in Kubeflow, so you can create environments that are as big as your Linodes. For example, if you selected 16GB Linode nodes, you might be able to create notebook servers with up to 14GB of memory and 3 CPUs.
Creating a notebook is straightforward, as demonstrated in this animation:

Please note, you can’t create notebook servers that have specs higher than a single Linode. The notebook server is not distributed and runs as a single Pod in the Kubernetes cluster. If you wish to run your model at scale, you might want to use Kubeflow’s Pipelines, which are demonstrated in the next section.
Kubeflow pipelines
Kubeflow pipelines are similar to CI/CD pipelines. You define sequential (or parallel) tasks and connect them.
In CI/CD pipelines, the tasks are usually a sequence of build, test and deploy. In Kubeflow, pipelines you have similar stages: train, predict and serve.
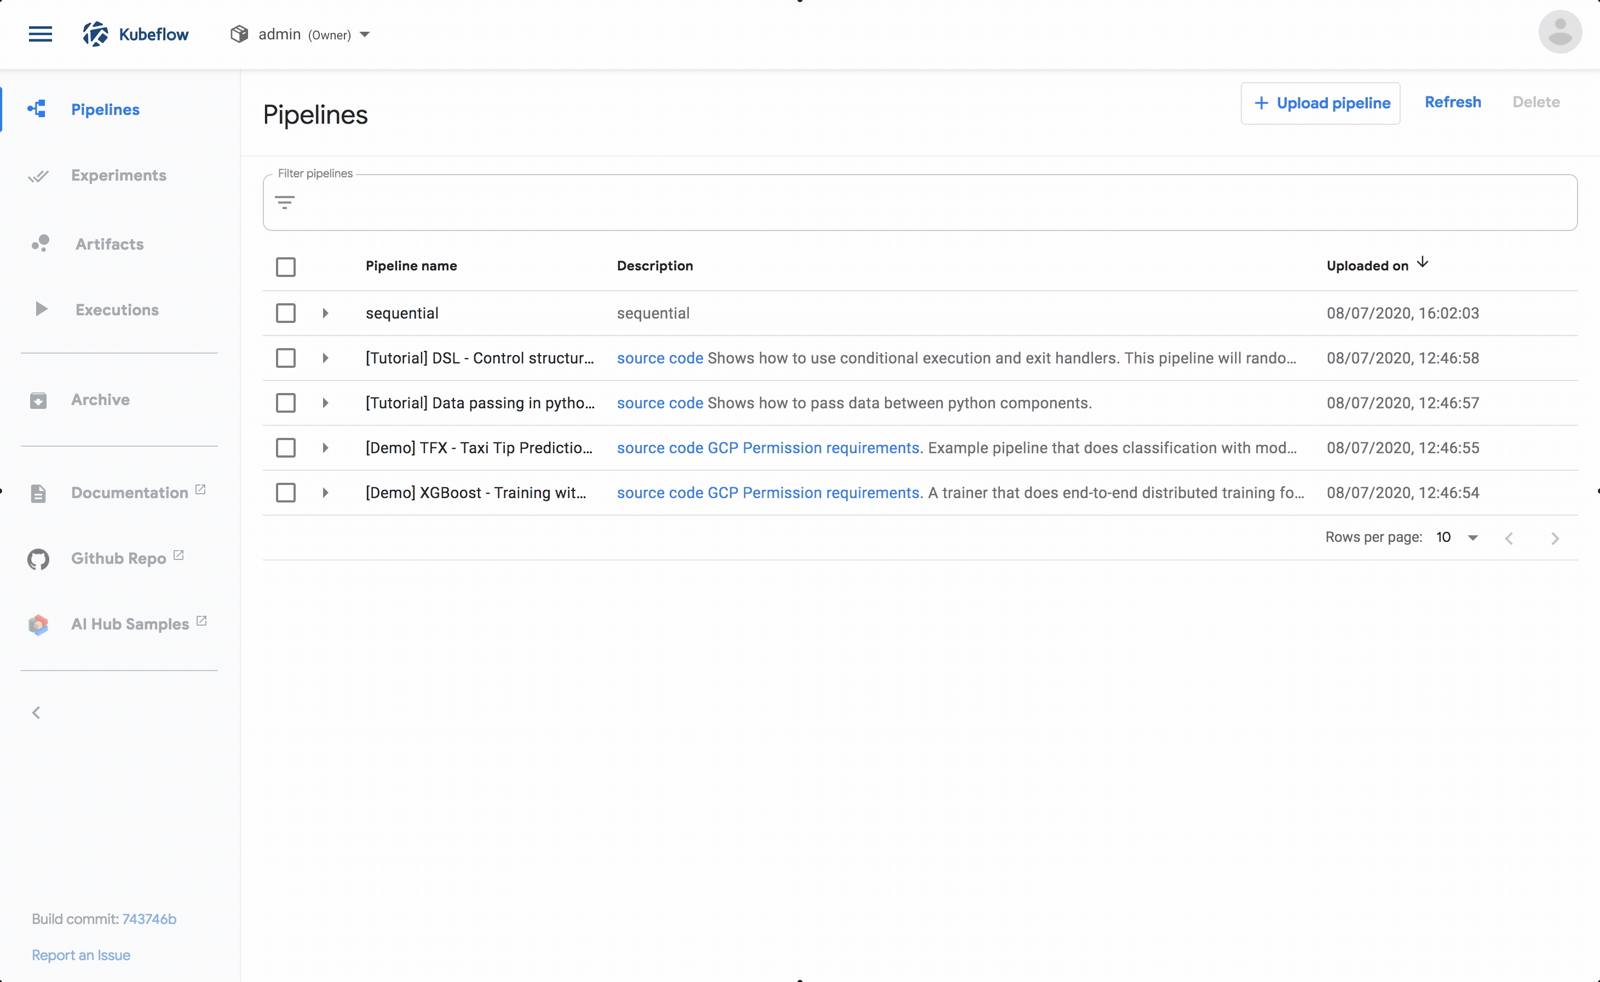
There are a few examples in the “Pipelines” section that you can test. As an example, you can select the “Data passing in Python components” pipeline.

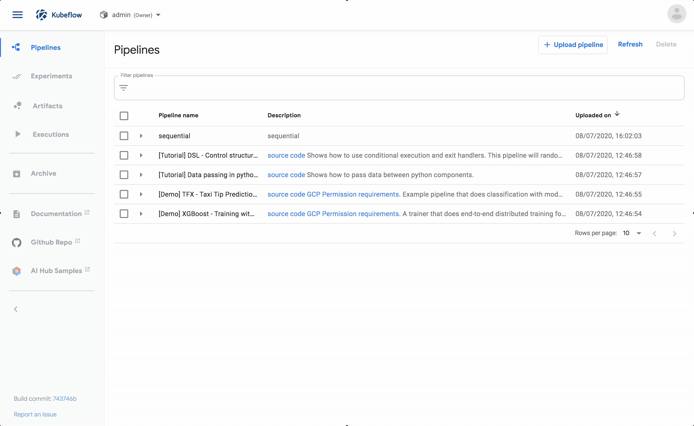
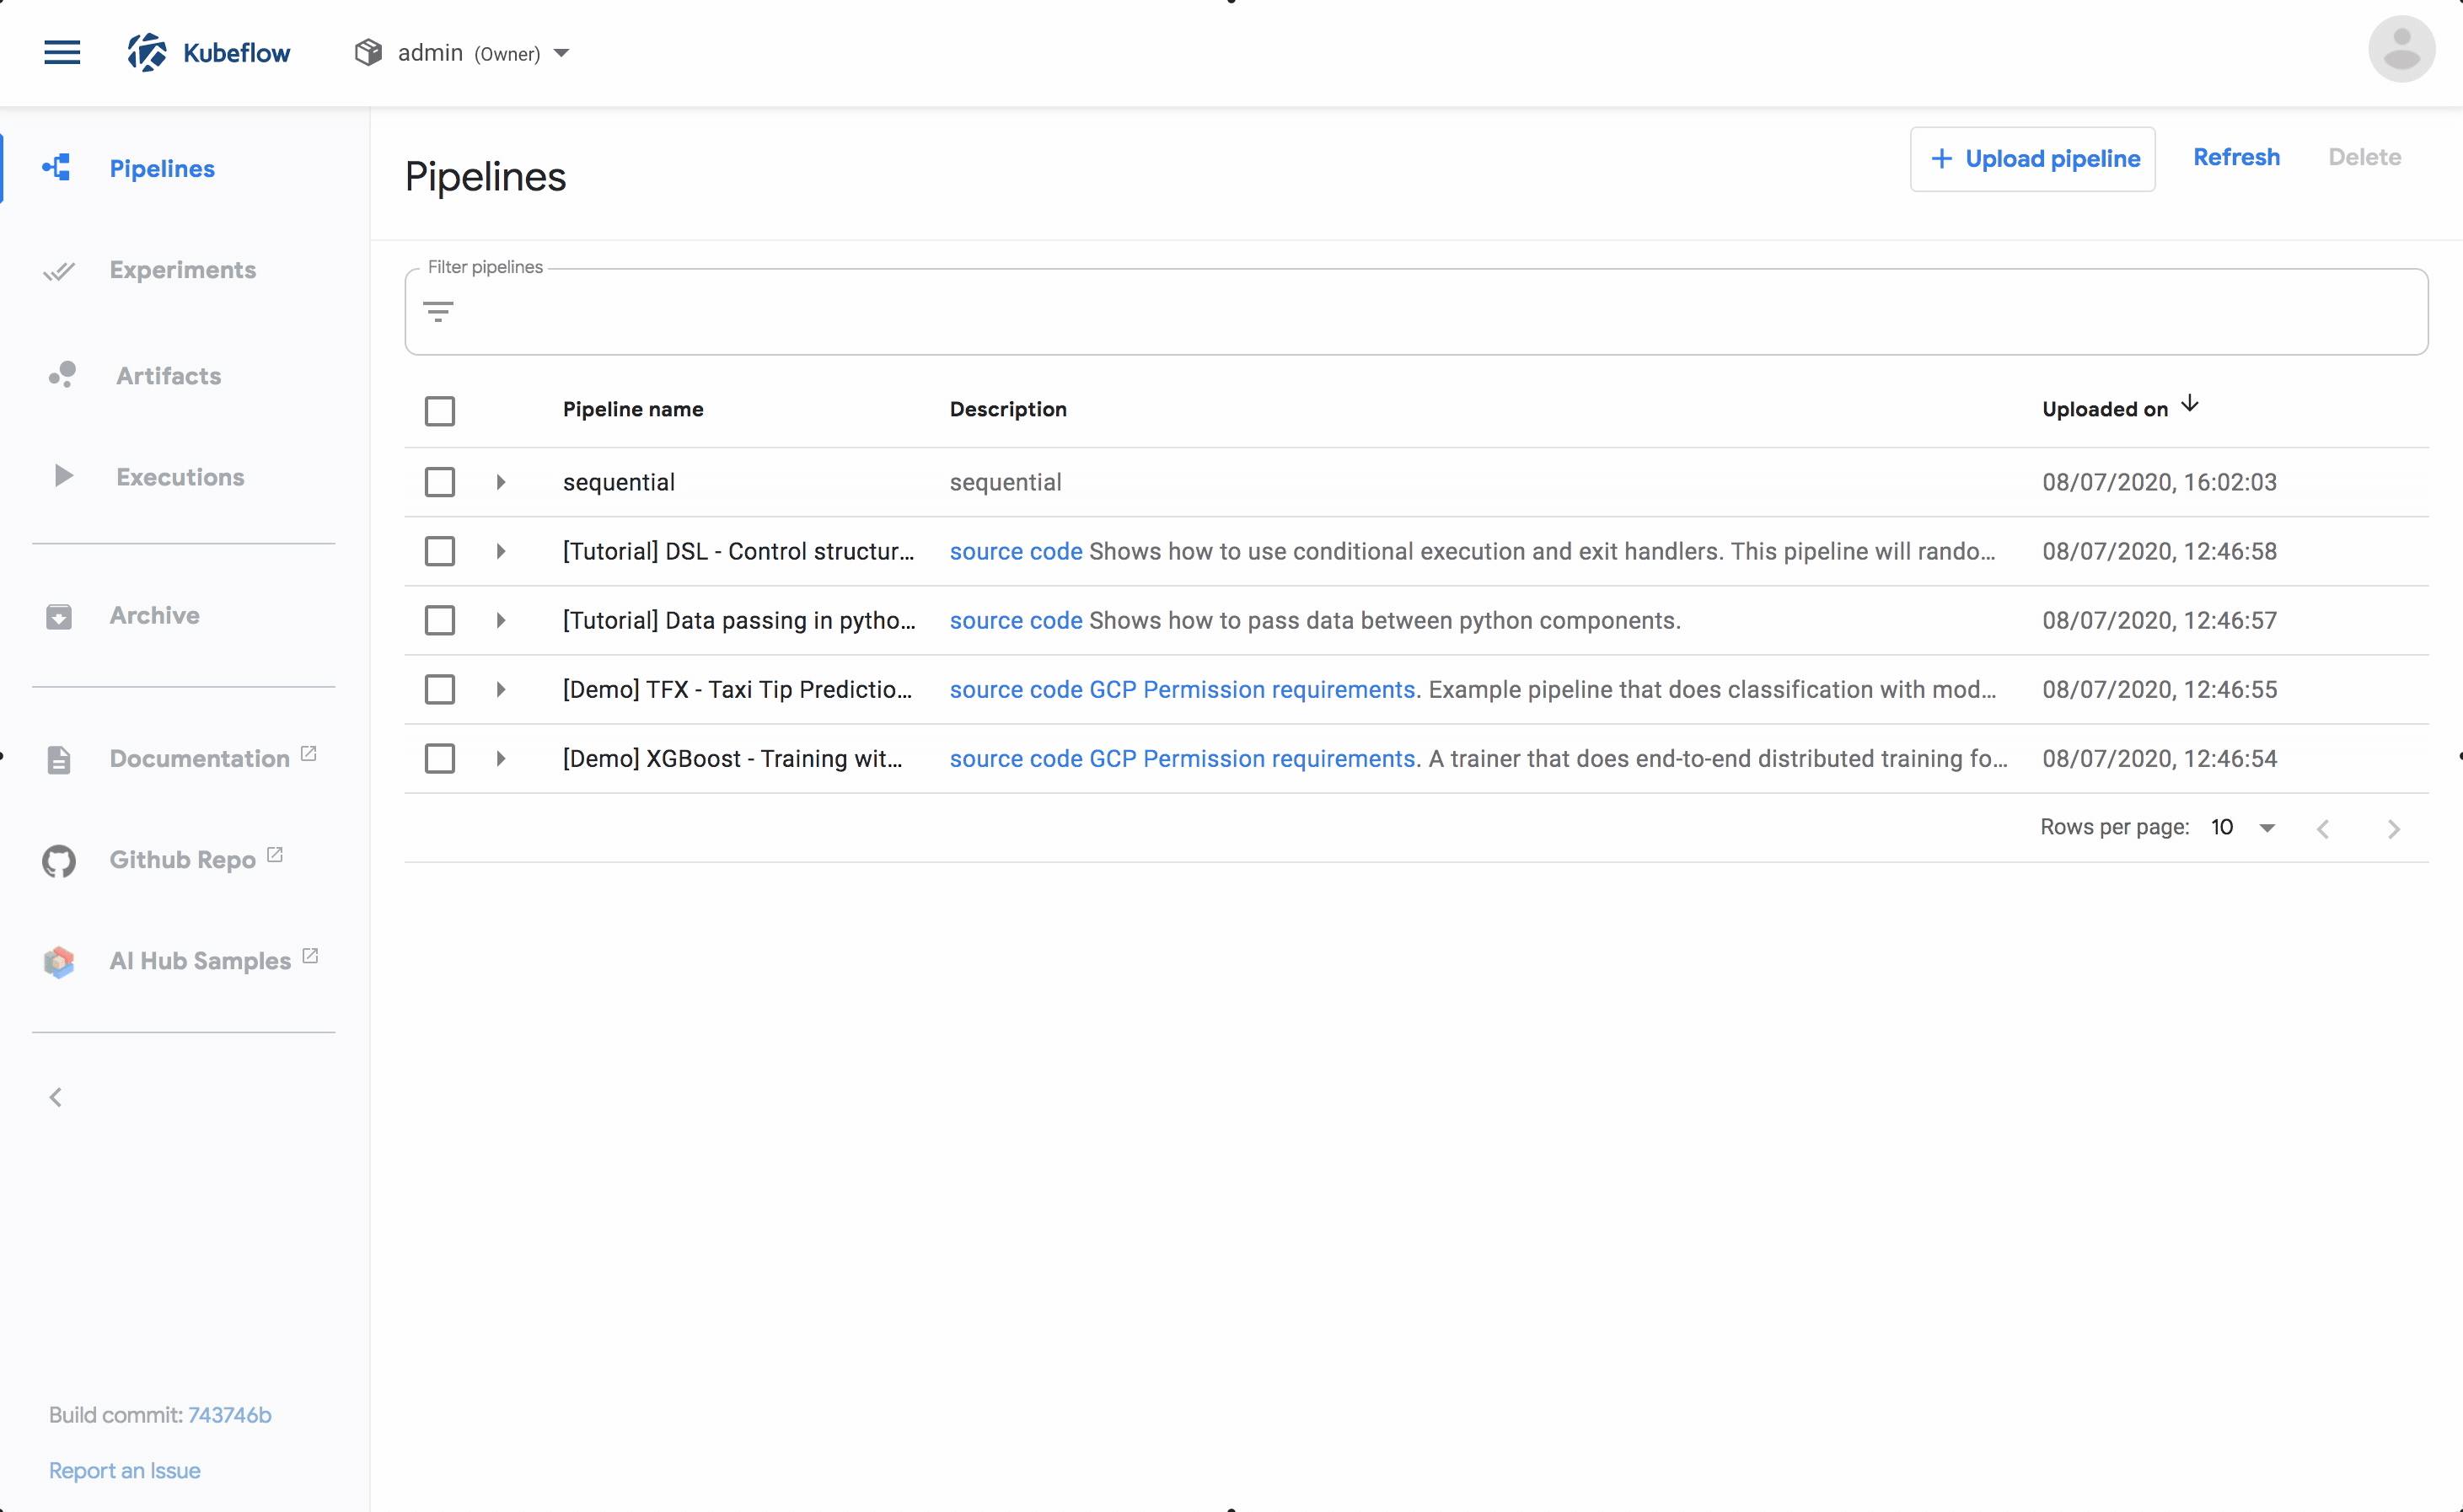
The pipeline has three independent tasks that are meant to demonstrate how to:
- Generate data (i.e. writing to a file).
- Consume data (i.e. reading from a file).
- Transform data (i.e. reading, processing and writing to a file).
You can explore the Python code using a Jupyter notebook .
The same code is used to generate a pipeline in Kubeflow .
Pipelines are written using Python and a Kubeflow domain-specific language (DSL). While you can leverage your existing Python models, there are a small amount of changes necessary to teach Kubeflow how to break your model into smaller parts for distributed processing.
The best resource to continue learning Kubeflow pipelines is the official documentation.
More Information
You may wish to consult the following resources for additional information on this topic. While these are provided in the hope that they will be useful, please note that we cannot vouch for the accuracy or timeliness of externally hosted materials.
This page was originally published on

